This Bitget registration guide with screenshots is the latest 2026 walkthrough — a visual step-by-step Bitget sign-up tutorial showing how to register a Bitget account and complete Bitget KYC verification. Register Bitget through the CoinTech2u referral link to auto-apply our exclusive invite code and unlock a 10% trading fee rebate.
The full Bitget registration flow has three parts: ① register a Bitget account with email; ② download the Bitget app and log in; ③ complete Bitget KYC verification (ID upload + face recognition). Every step has a real Bitget registration screenshot; just follow along — beginners can finish in 3–10 minutes.
🔍 Looking for Bitget registration screenshots / image guide? Scroll down — every key action has its own screenshot, click to enlarge for details. Works on mobile too.
Register Your Bitget Account
Step 1: Visit the Bitget Registration Page
Navigate to CoinTech2vip.com/bitget to open the Bitget registration page. You will get a 10% rebate on all trading fees.
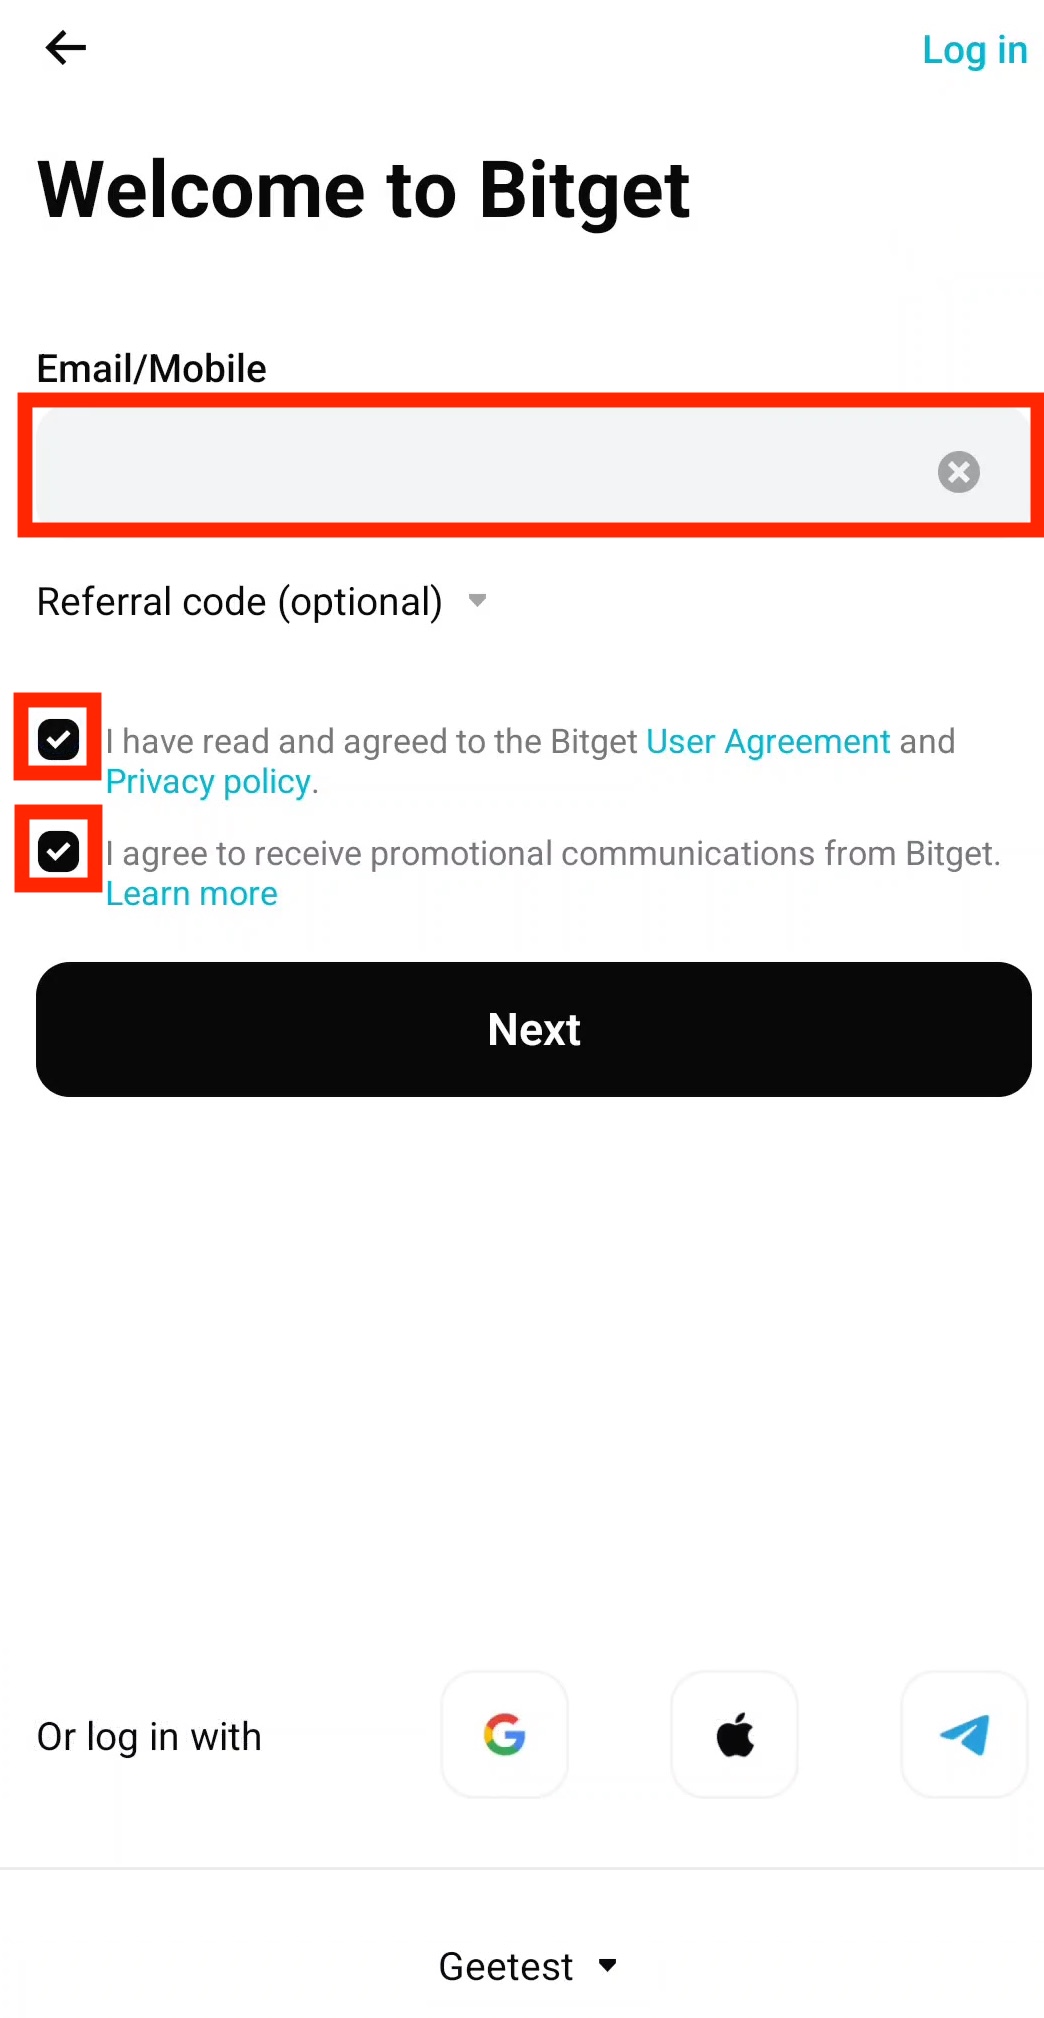
Step 2: Enter Your Email and Create Account
Enter your email address, tick "I have read and agree...", then tap Create Account.
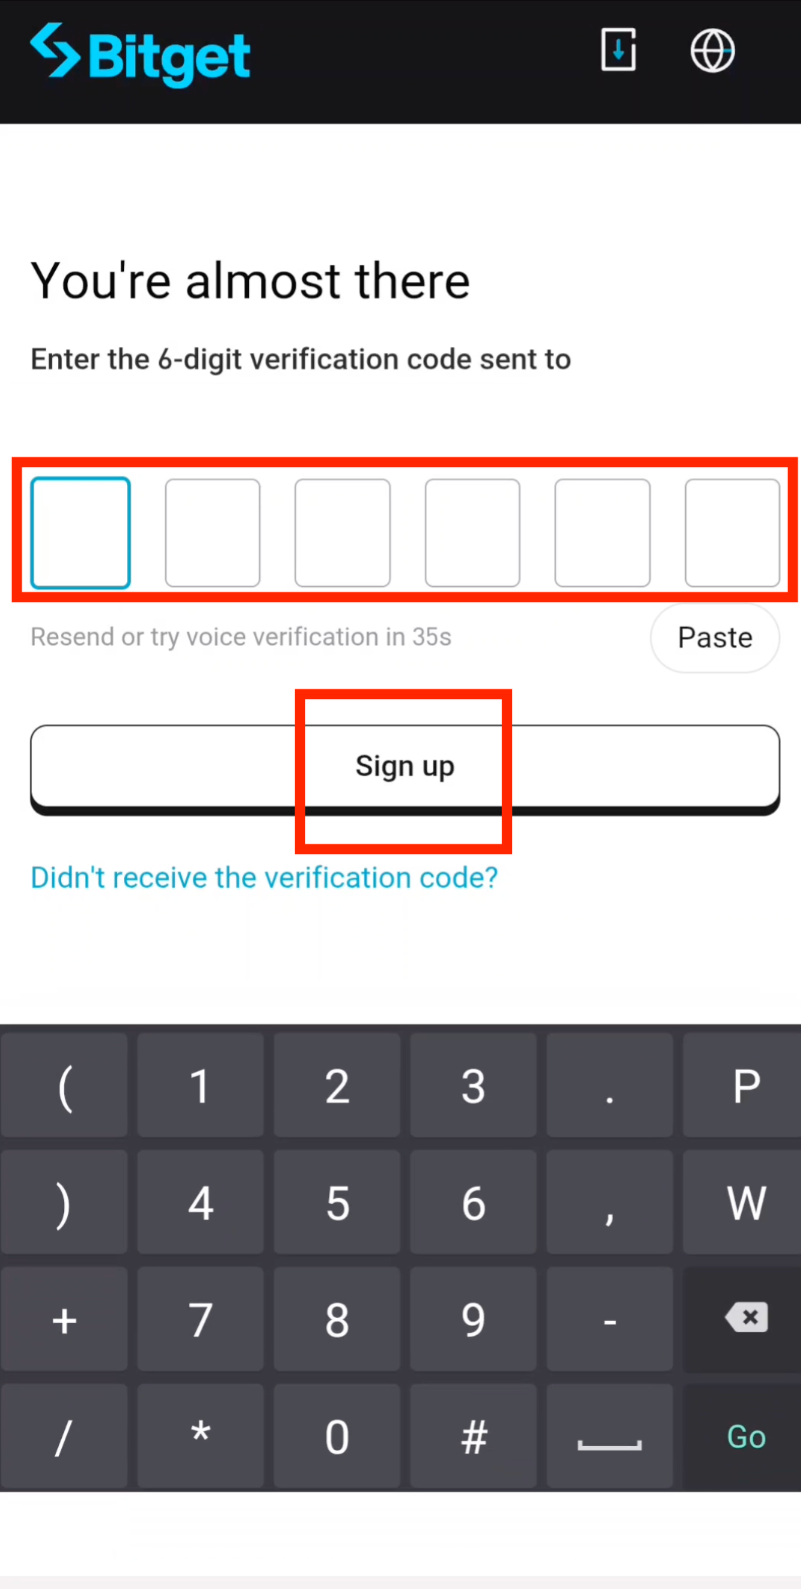
Step 3: Verify Your Email Address
Enter the Email Verification Code sent to your inbox, then tap Sign up. Your Bitget account will be successfully created.
Download and Set Up the Bitget App
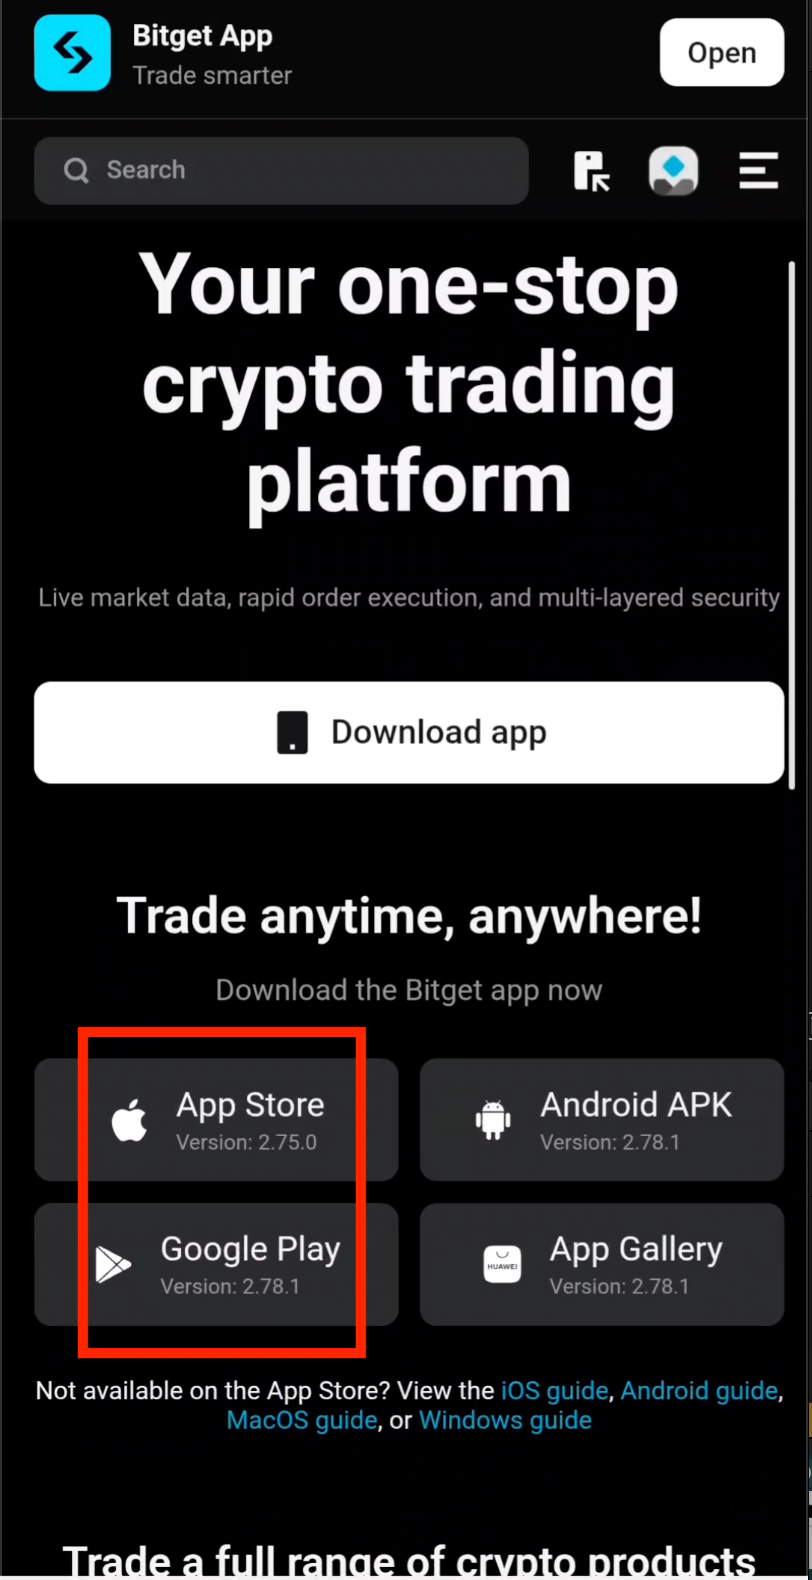
Step 4: Choose Your Platform to Download
For iOS users, tap iOS, then tap App Store. For Android users, tap Android, then tap Google Play.
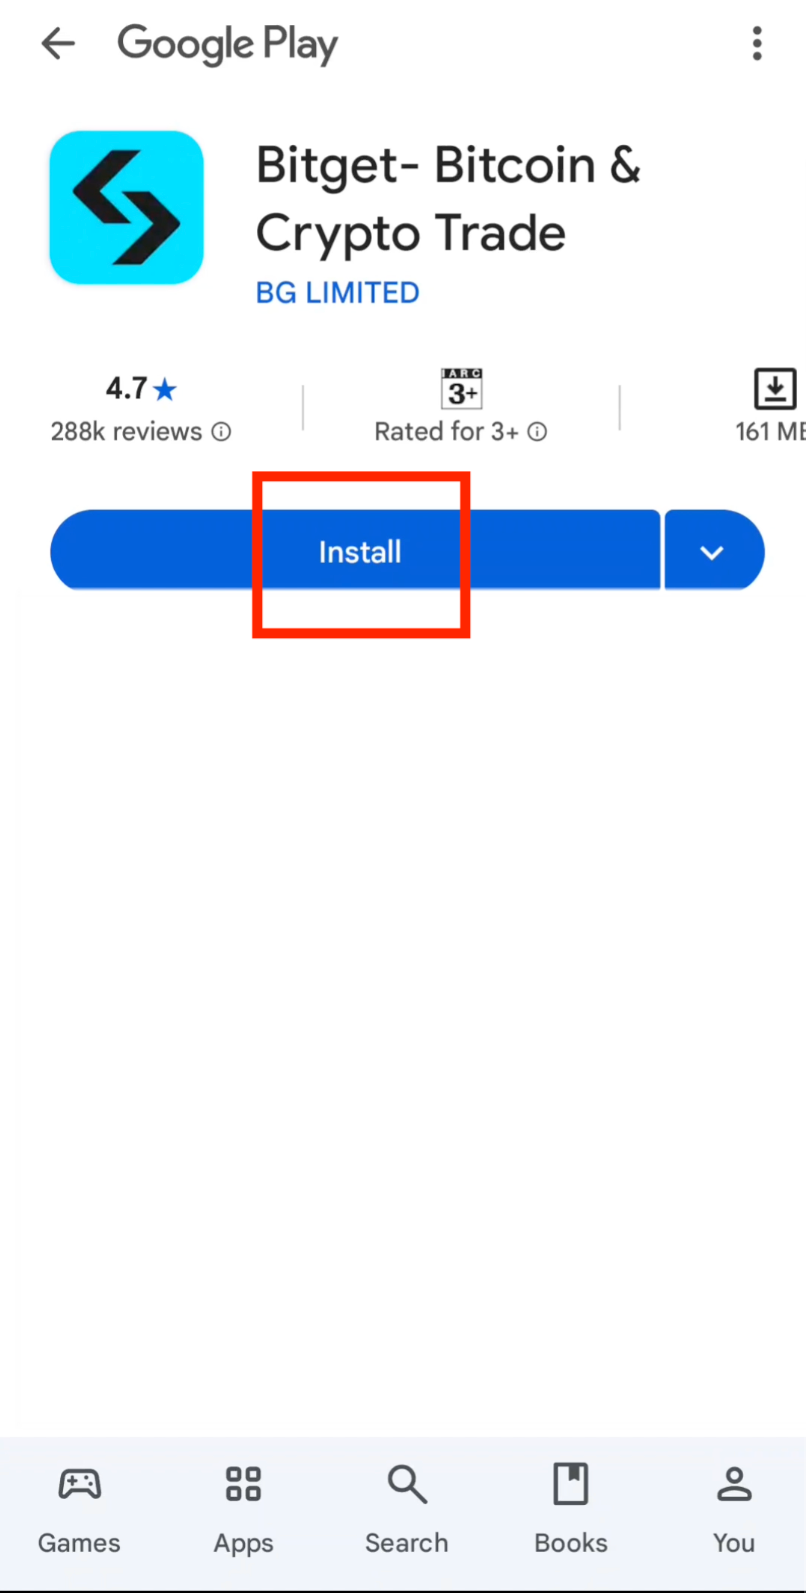
Step 5: Install the Bitget App
Install the official Bitget app from the App Store (iOS) or Google Play Store (Android). Always download from official sources to ensure your security.
Step 6: Open the Bitget App
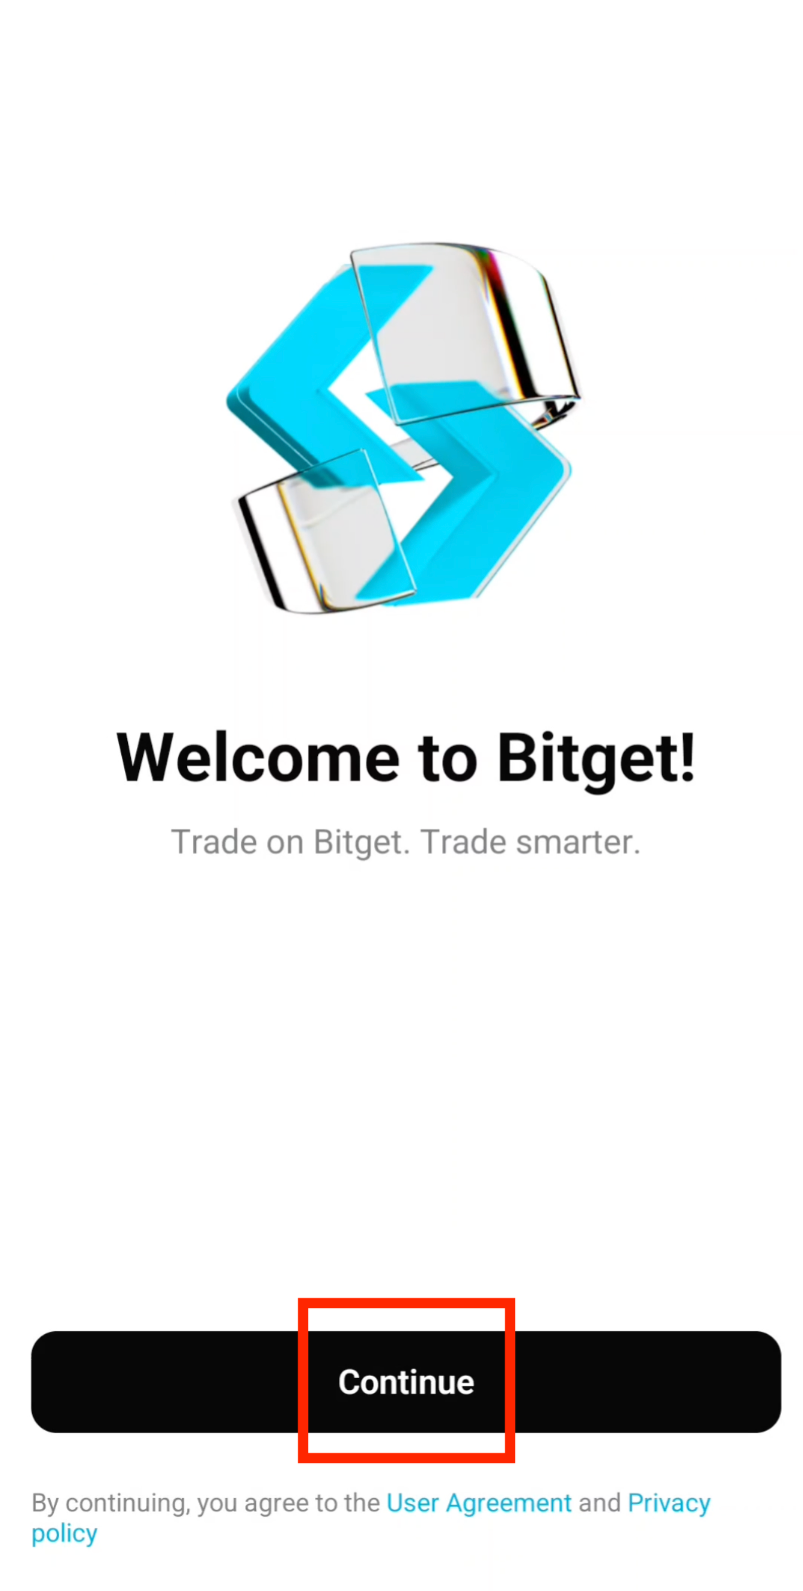
Once the download is complete, open the Bitget app and tap Continue to proceed.
Step 7: Log In with Your Email
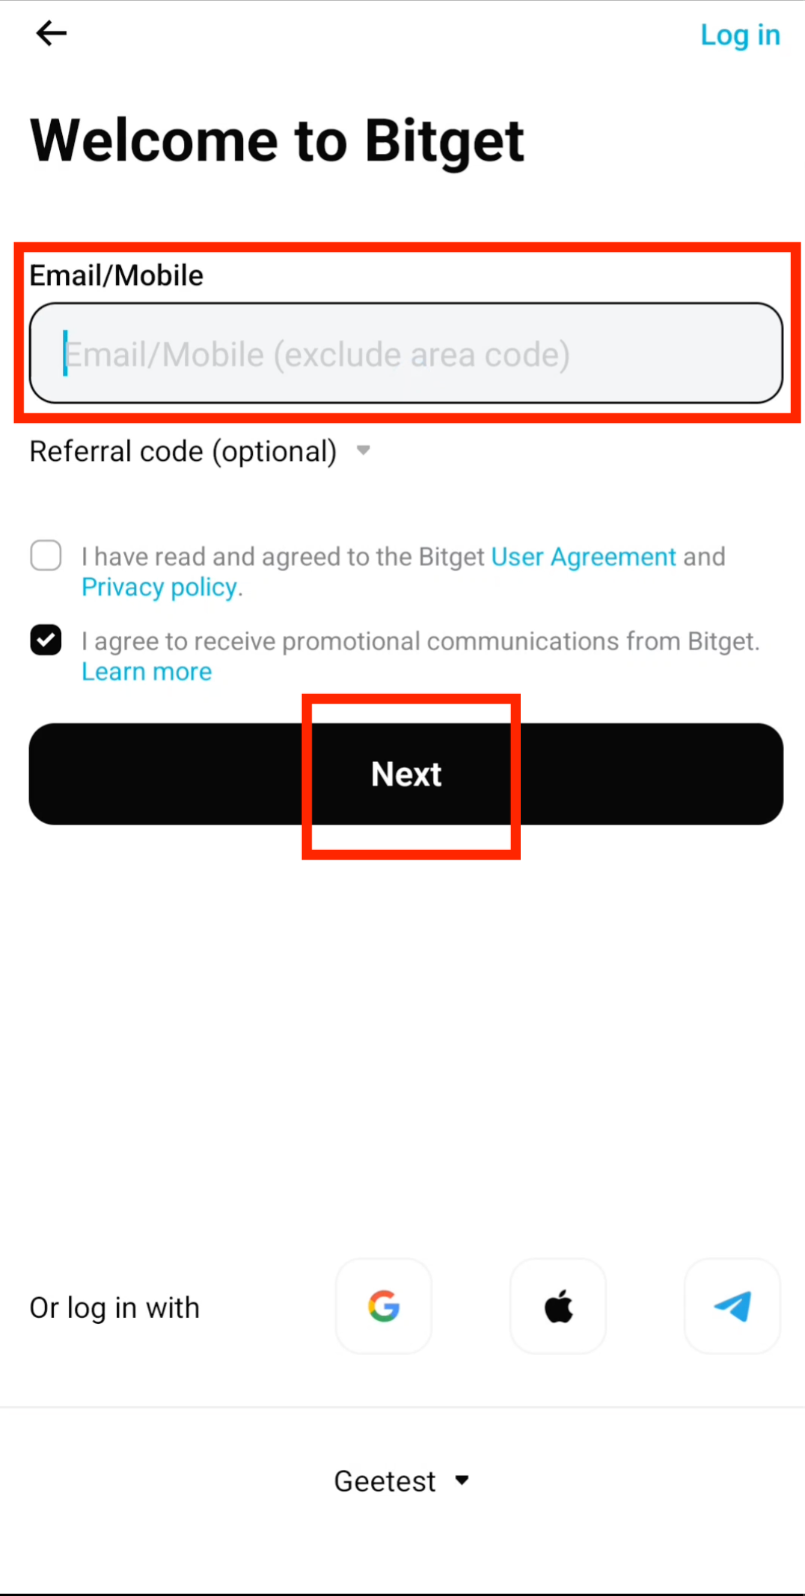
Enter your email address, tick "I have read and I agree...", then tap Next.
Step 8: Confirm Email Verification
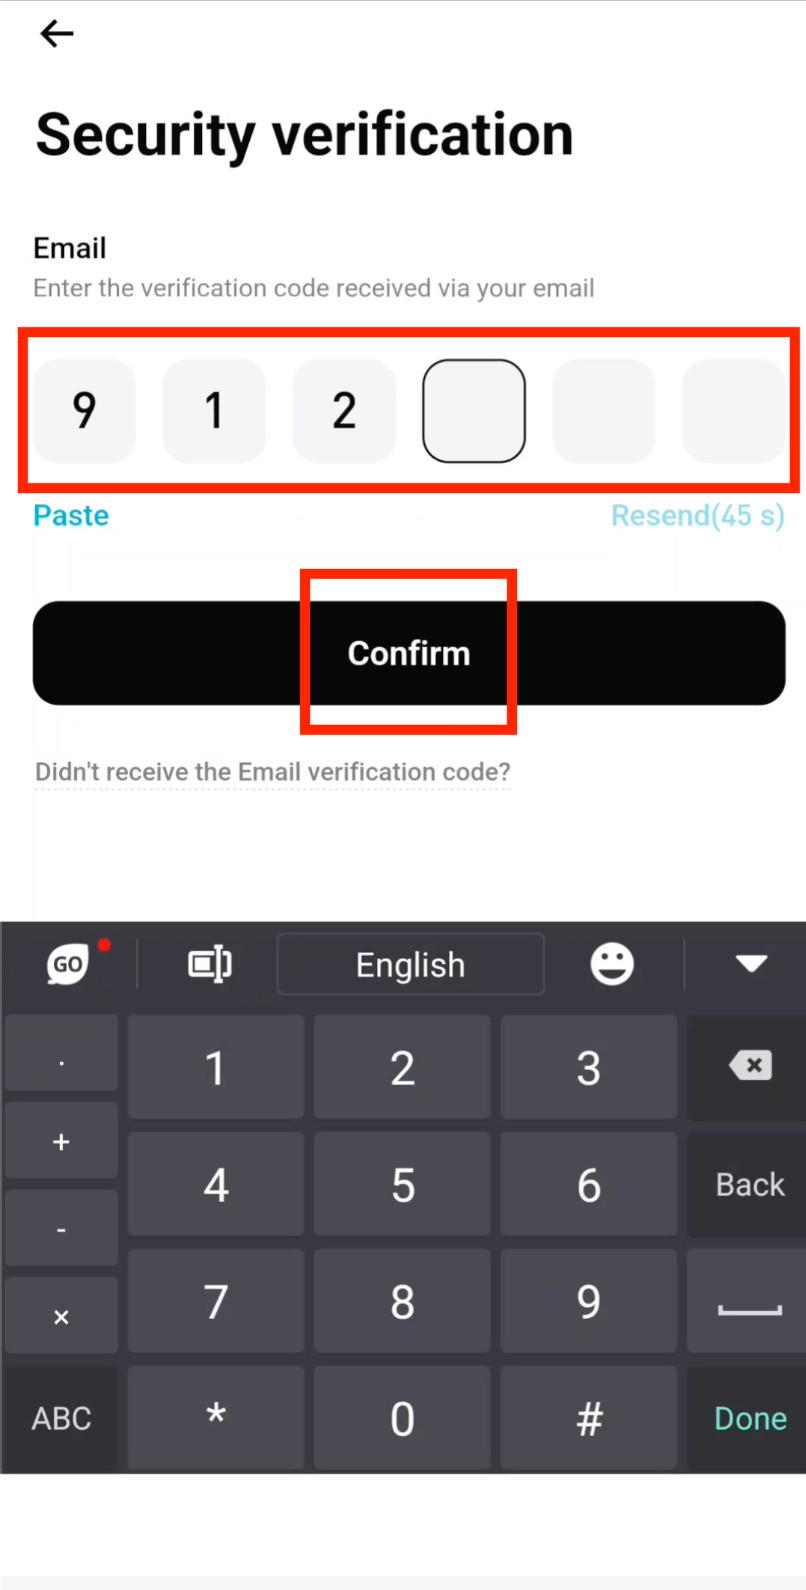
Enter the Email Verification Code sent to your inbox, then tap Confirm.
Complete KYC Identity Verification
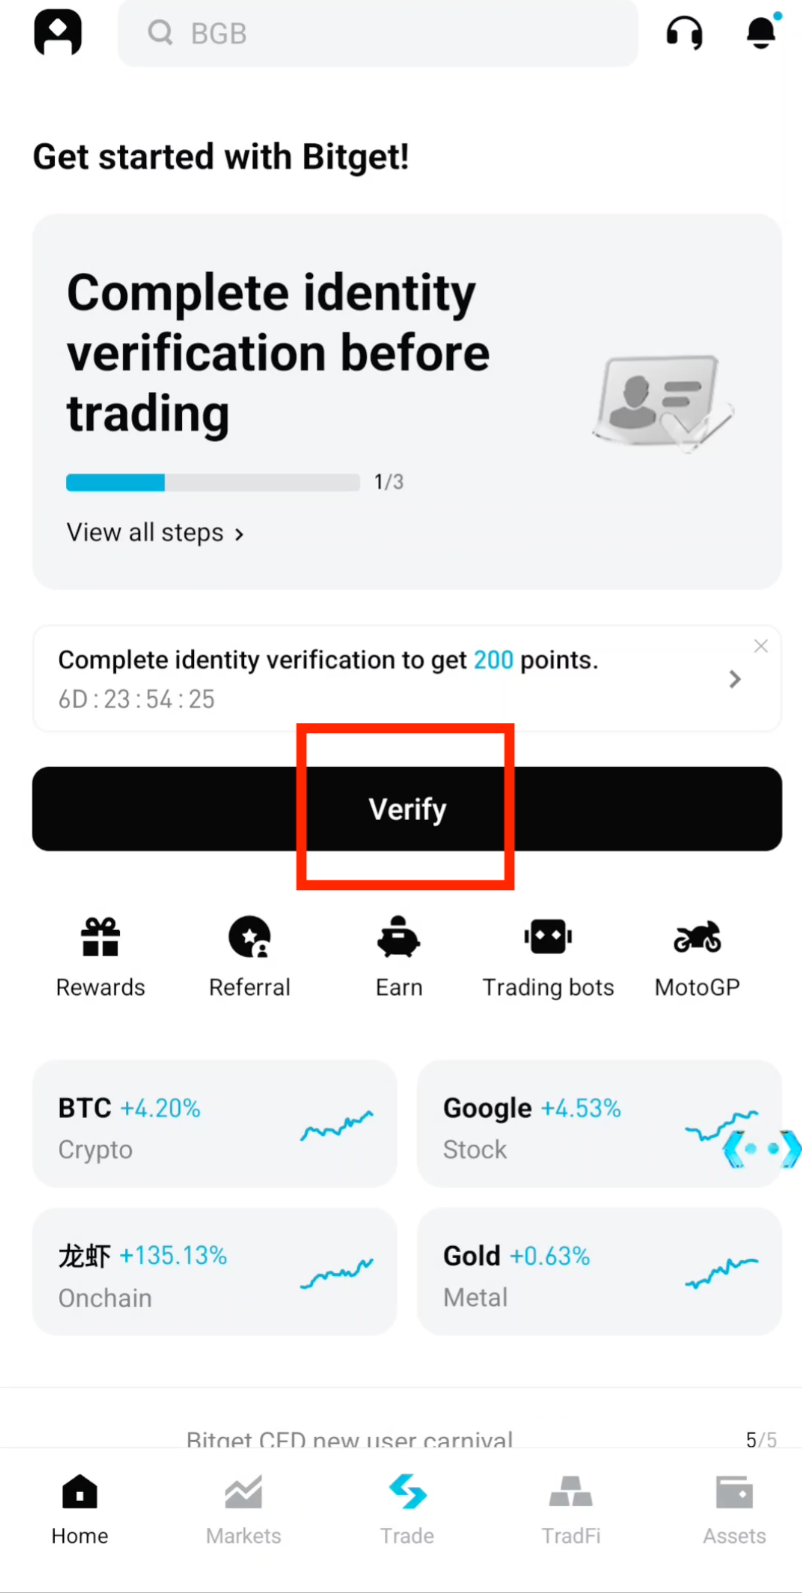
Step 9: Tap "Verify" to Begin
Tap Verify to start the identity verification (KYC) process.
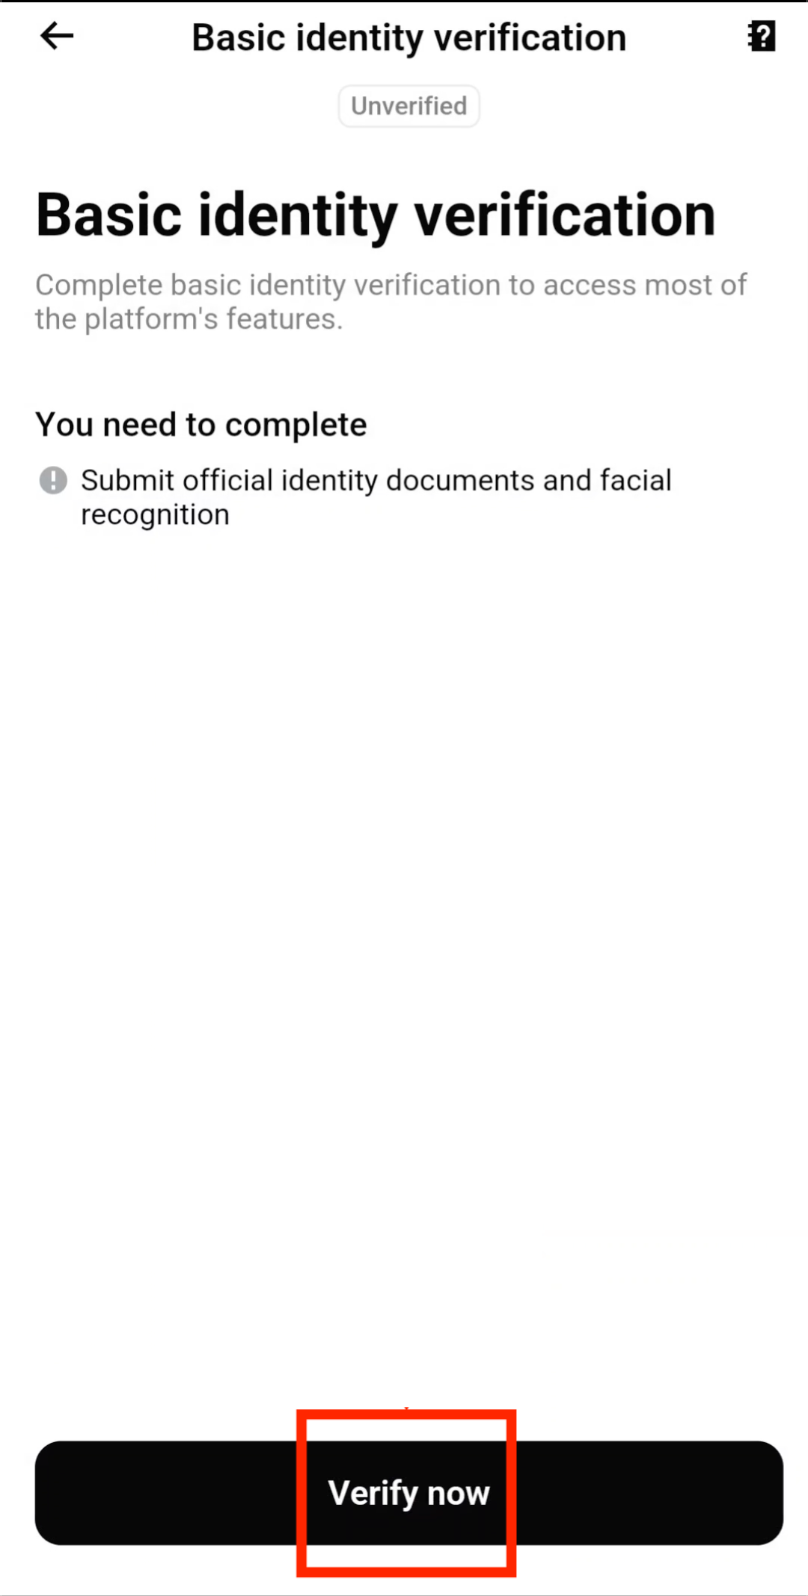
Step 10: Tap "Verify Now" to Proceed
Tap Verify now to proceed with submitting your identity documents.
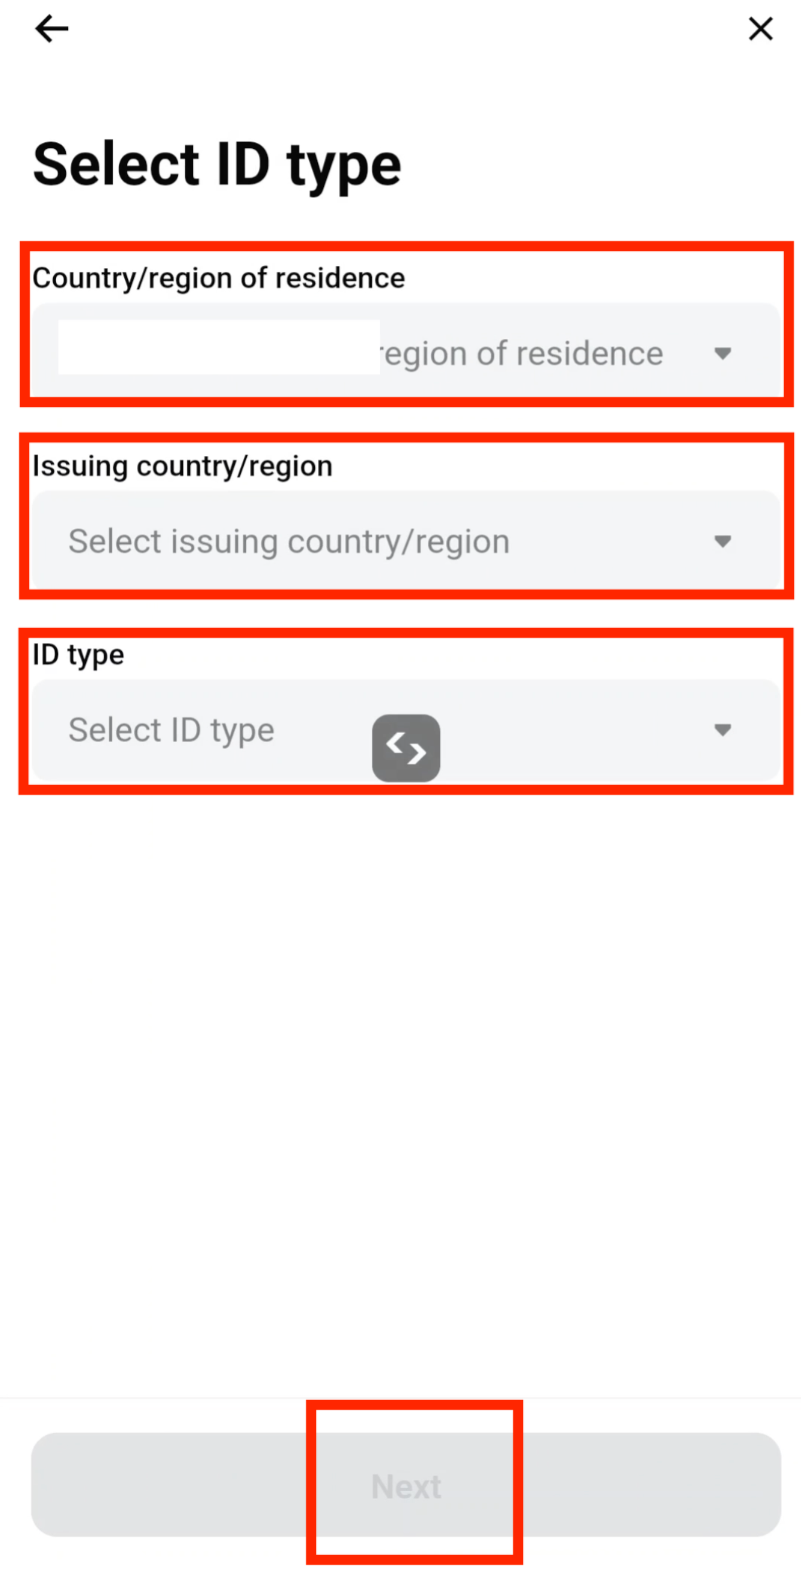
Step 11: Select Your Country and ID Type
Select your Country and ID type (passport, driver's license, or national ID card) from the dropdown menus, then tap Next.
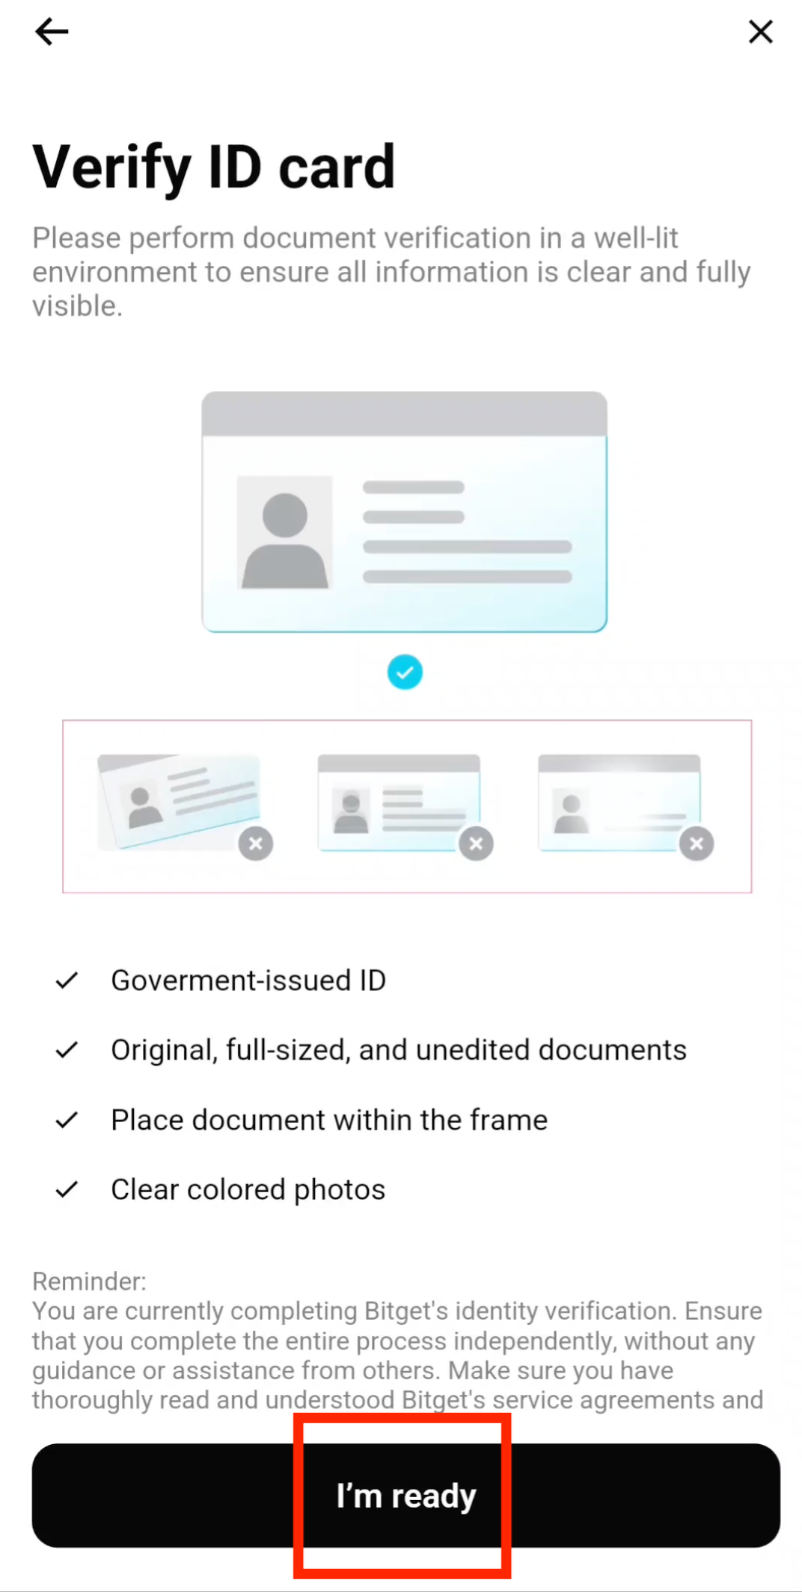
Step 12: Upload Your ID Photos
Tap I'm ready, then upload clear photos of the front and back of your ID card. Make sure the photos are well-lit and all text is readable.
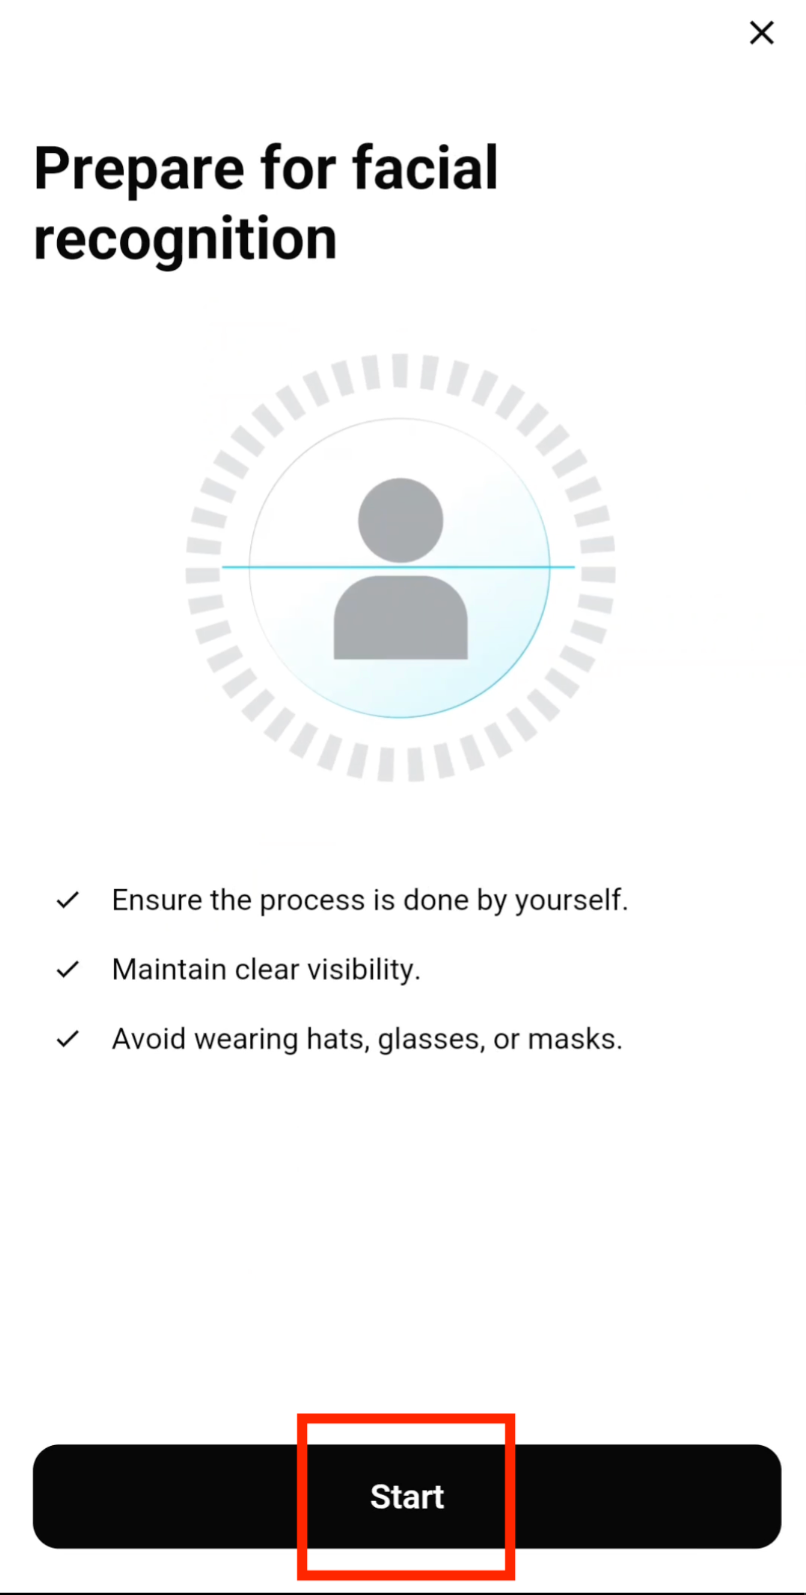
Step 13: Complete Facial Verification
After uploading your ID photos, tap Start to proceed with the facial verification scan. Follow the on-screen instructions to complete the process.
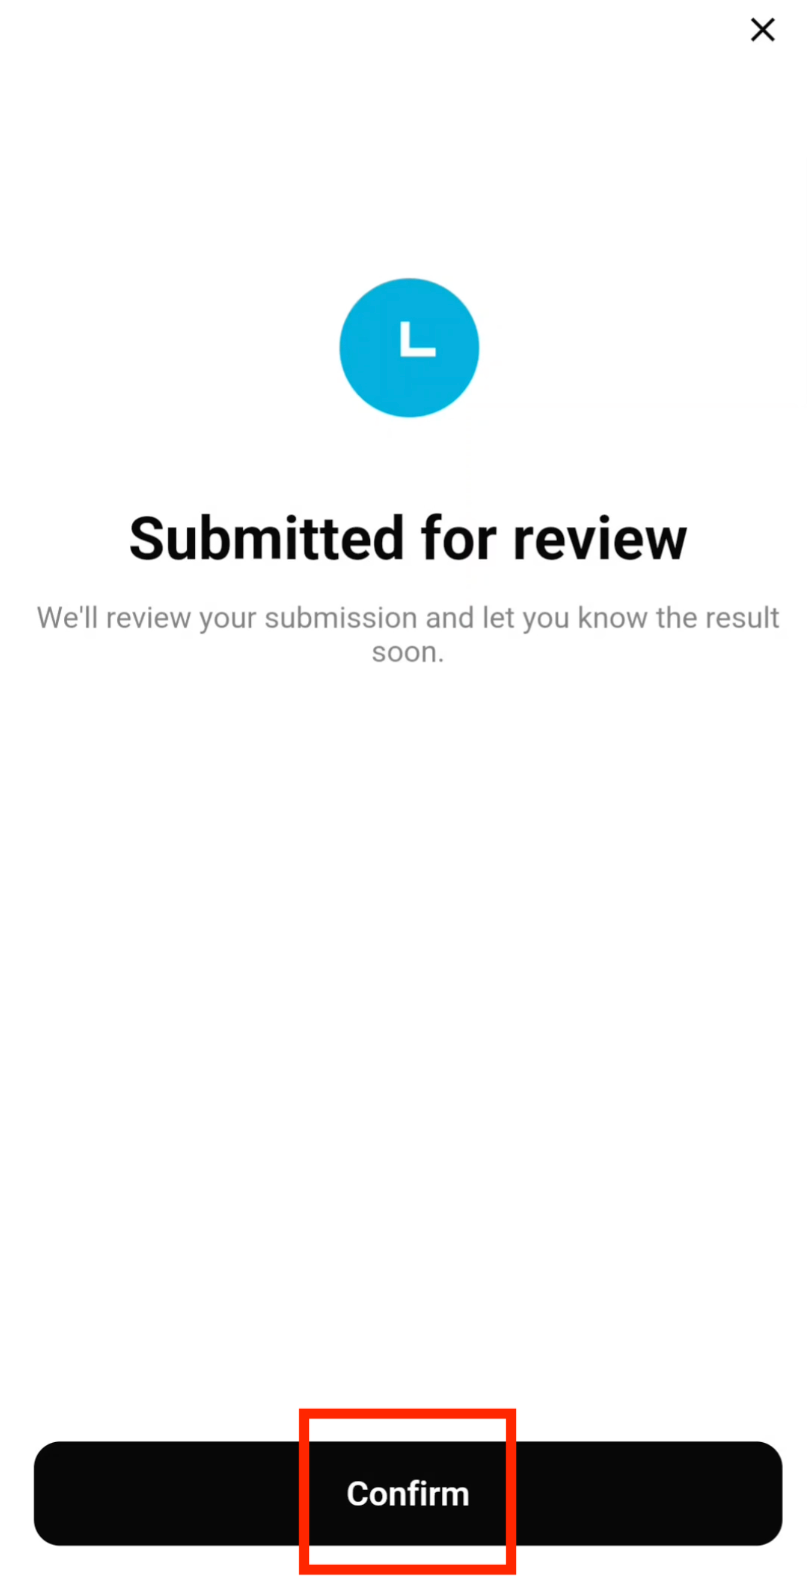
Step 14: Confirm the Facial Scan
Once the facial scan is complete, tap Confirm to submit your verification.
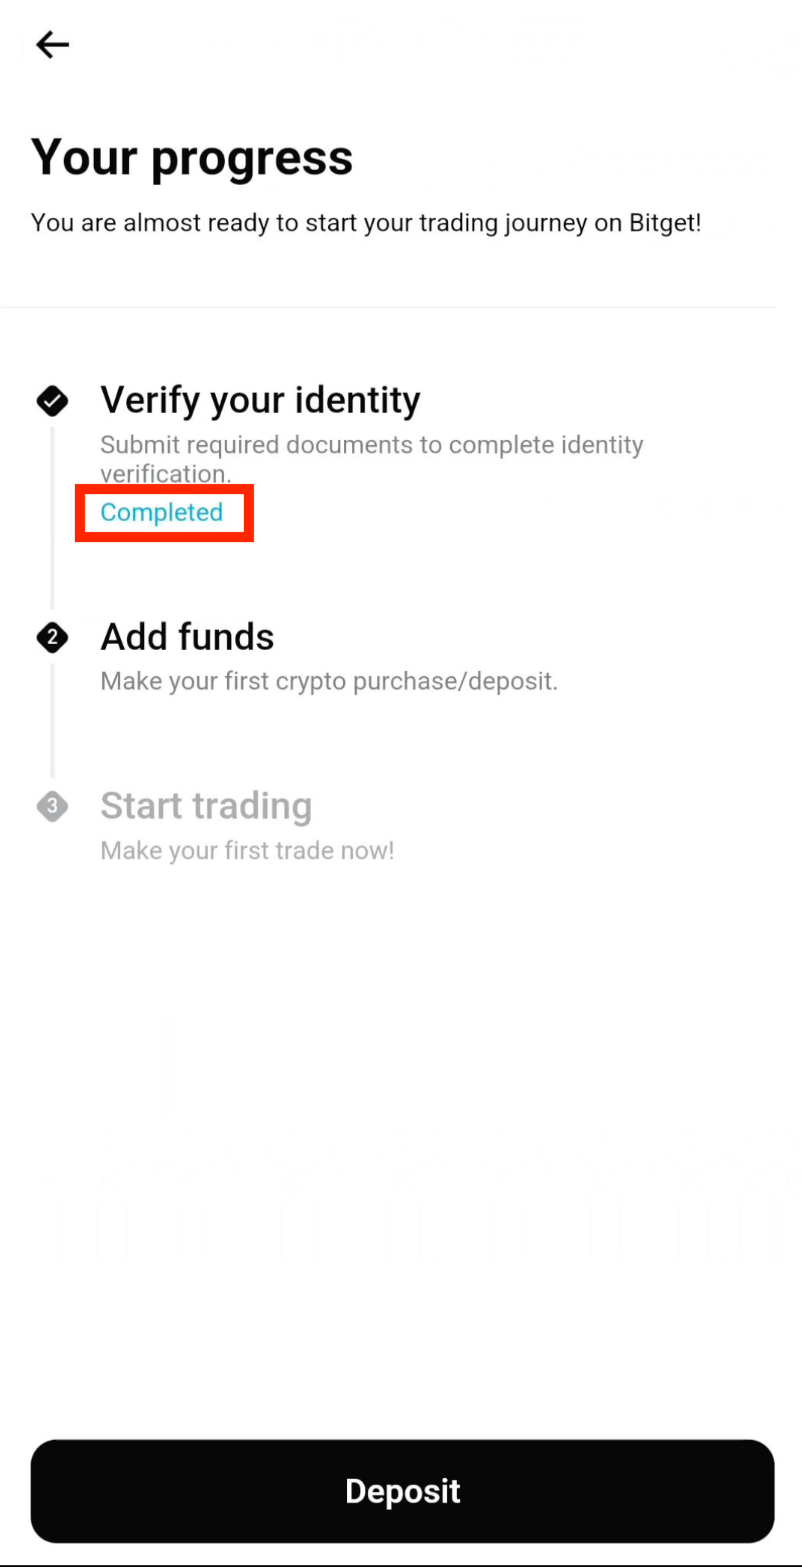
Step 15: KYC Verification Complete
Your KYC verification is now complete. You can now access all Bitget features including trading, deposits, and withdrawals with higher limits.
Frequently Asked Questions
What is Bitget and why should I use it for crypto trading?
Bitget is a leading global cryptocurrency exchange; Bitget says it serves over 125 million users in 100+ countries. It offers spot trading, futures trading, and copy trading with competitive fees. Bitget is a recommended exchange for CoinTech2u's AI trading bot due to its reliable Fast API connectivity, low fees, and comprehensive sub-account support for automated trading.
How long does Bitget KYC verification take?
Bitget KYC verification typically takes between 5 minutes to 24 hours. Most users are approved within minutes through the automated facial recognition system. You will need a government-issued ID and to complete a live facial scan. Full KYC verification unlocks all trading features and higher withdrawal limits.
Is Bitget safe and legitimate for cryptocurrency trading?
Bitget uses hot/cold wallet separation, multi-signature wallets and two-factor authentication (2FA), maintains a user Protection Fund, and publishes monthly proof-of-reserves reports. You should also know about a recent incident: according to Bitget's official incident page, at about 18:31 UTC on September 24, 2026, roughly US$388 million was transferred without authorization from part of Bitget's hot and warm wallet infrastructure; cold wallets were not affected. Bitget states that user account balances were unaffected and that its Protection Fund covers the impact. Withdrawals were paused on September 24 and resumed in stages (BTC on Sept 28, ETH on Sept 29, USDT on Sept 30, with remaining assets, fiat and P2P resuming on Oct 2 per Bitget's published schedule). Bitget says the Protection Fund was back above US$300 million by September 30 and that it will keep it above that level. See the full timeline in Bitget's official incident page. After registering, enable 2FA, set up a withdrawal address whitelist, and check Bitget's official announcements for the current withdrawal status.
What's Next?
Now that your Bitget account is set up and verified, the next step is to enable 2-Factor Authentication (Google Authenticator) to secure your account.
Next: Enable 2FA on Bitget →Ready to Start Trading?
Register your Bitget account through the CoinTech2u link for a 10% fee rebate and start AI-powered crypto trading today.